
Elevation — a compact shower with a recessed niche, one of the junctions the membrane has to seal behind the tile
Service 07 — Sheet B · Section
Bathroom Waterproofing St Kilda
The layer nobody sees decides how long a bathroom lasts. Behind every tile in a shower, floor and wall junction sits a waterproofing membrane that keeps water out of the timber, plaster and slab beneath. In St Kilda’s older flats and terraces, where the room below may be a neighbour’s ceiling, that hidden layer matters even more.
Sheet A — Plan · Wet zones
What gets waterproofed
Waterproofing follows the water, not the tile line. On plan, we mark every surface that gets wet in normal use and every joint where two surfaces meet, because junctions are where most leaks start. The exact extent depends on the layout, the fixtures and what the floor is built from.
Shower recess
— Floor, walls and hob or step-down, including walk-in shower zones without a hob
Bathroom floor
— The wet floor area, falls to the waste and a turn-up at the skirting
Around the bath
— Hob, wall edges and the floor beneath an inset or freestanding bath
Junctions and penetrations
— Wall-to-floor corners, floor wastes, tapware and shower-rose outlets
Laundries
— Floor areas and trough surrounds, as part of a laundry renovation
Sheet B — Section · The order of layers
Built from the substrate out
A membrane is only as good as the surface under it and the tile over it. Read left to right, this is the general sequence through a shower wall and floor during a renovation. Products and details vary with each room.
LAYER 01
Prepare the substrate
Old tiles and failed sealant come out. Sheeting, screed and floor falls are checked so water will run to the waste.
LAYER 02
Prime and detail joints
Primer helps the membrane bond. Bond breakers, flashings and puddle flanges go in at corners, wastes and pipe penetrations.
LAYER 03
Apply the membrane
The membrane goes on in coats to the product’s recommended thickness and extent, then is left to cure before anything covers it.
LAYER 04
Bed, tile and seal
Adhesive and tiles go over the cured membrane, with flexible sealant at movement joints instead of hard grout.
Sheet C — Elevation · Why it matters
Tiles shed water. Membranes stop it.
Grout and tile are not waterproof on their own. Water gradually works through grout lines and hairline cracks, and without a sound membrane beneath, it reaches framing, skirting boards and the ceiling below.
The early signs are easy to miss: lifting or drummy tiles, crumbling grout, swollen door frames, mould at the base of a wall or a stain on the floor next door. Once they appear, patching the surface rarely fixes the cause. If you are seeing them now, start with Leaking Shower Repairs.
That is why waterproofing is planned alongside the layout of a shower renovation or a walk-in shower, where a level entry leaves less room for error at the threshold.
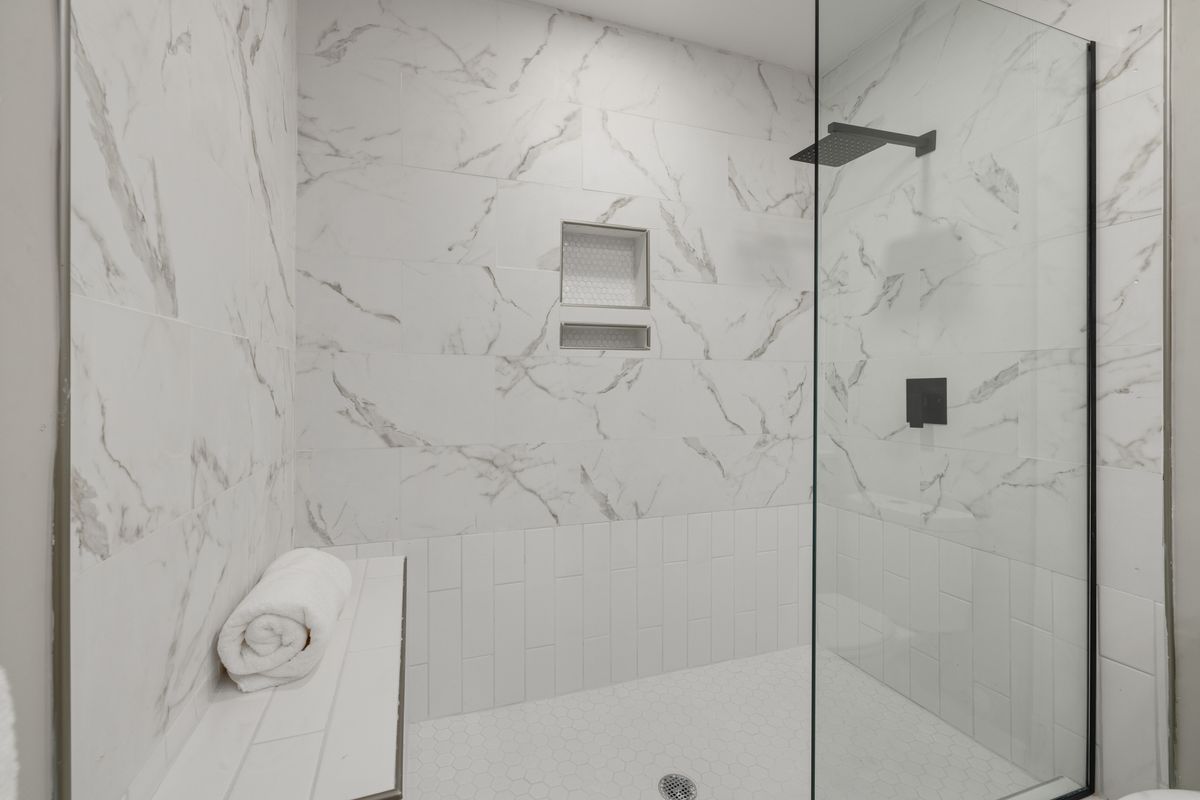
Elevation — niches, a bench and a tiled floor: each junction relies on the membrane beneath the finished tile
Notes on this sheet
Waterproofing questions
Can new tiles go straight over old ones?
Tiling over tiles covers the surface but does nothing for a membrane that may already be failing underneath. In a wet area, we generally recommend stripping back so the waterproofing can be inspected and renewed.
Does a walk-in shower need different waterproofing?
Without a hob to hold water back, floor falls, linear drains and the membrane extent beyond the shower zone need more careful planning. It is resolved at the design stage, before the floor is built up.
Is waterproofing only done as part of a full renovation?
It is part of every complete bathroom renovation, shower rebuild and laundry renovation we plan, and it is central to repairing a leaking shower. Tell us about your room and we can talk through the scope.
Which suburbs do you cover?
St Kilda first, along with St Kilda East, St Kilda West, Elwood, Balaclava, Windsor, Prahran, Albert Park and Middle Park. See service areas.
Related sheets
Start with what's behind the tile
Photos of the shower base, grout lines and any stains or lifting tiles help us understand the room. Send them with your free quote request, or contact us with a question first.