SERVICE 03 — SMALL BATHROOMS
Small Bathroom Renovations St Kilda
Art Deco flats, walk-up apartments and single-fronted terraces rarely come with generous bathrooms. A window sits where the shower should go, a door swings into the basin, a bath fills the only full-length wall. We plan small rooms on paper first, so every fixture earns its place before a tile is chosen.
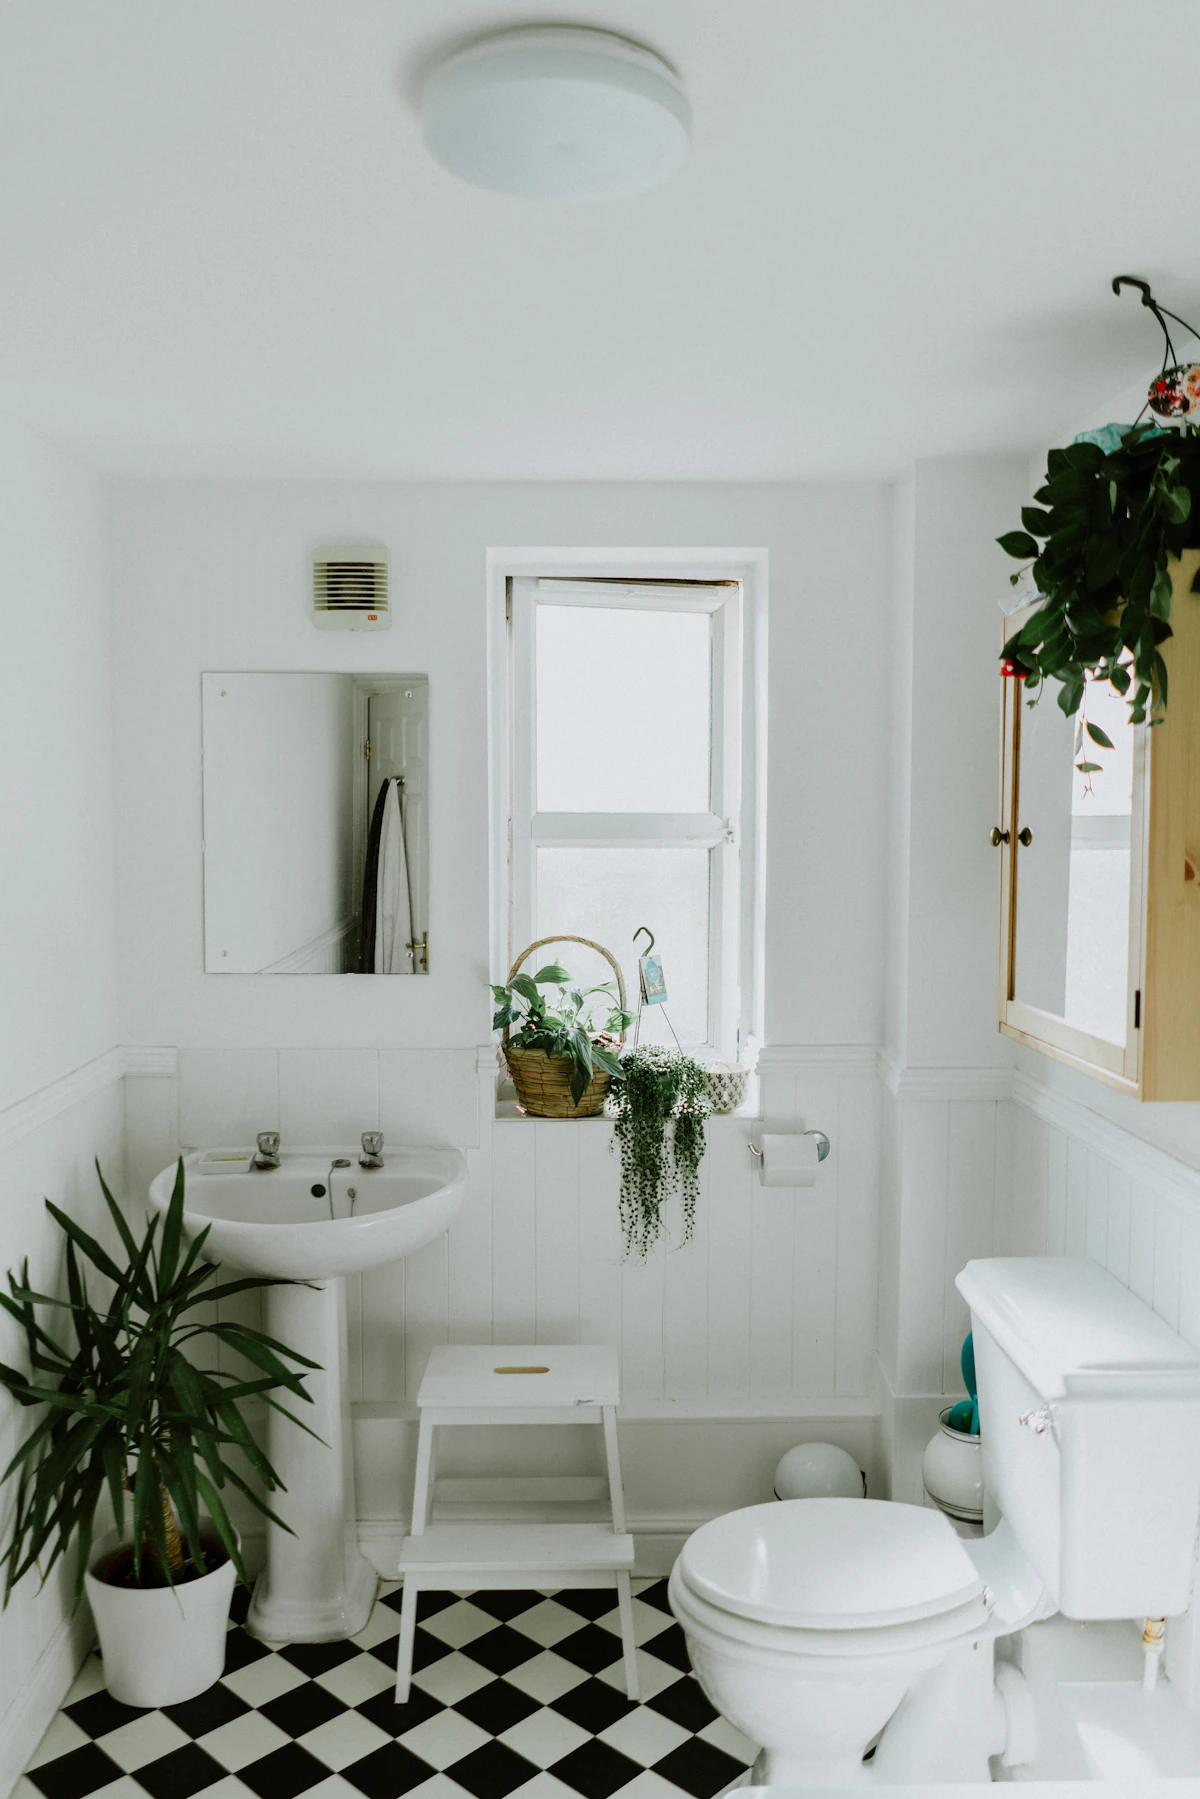
Elevation — a compact bathroom with bath, basin and window on one run
SHEET A — PLAN
Three ways to lay out a small room
In a tight bathroom the layout decides almost everything else. Before choosing finishes, we look at where the plumbing runs, which wall can take water, how the door opens and whether a bath is genuinely used. Most small St Kilda bathrooms resolve into one of these patterns.
A1 — ⌐ SHOWER OVER BATH
Keep the bath, add a fixed screen
Useful for families or rental-minded owners who want a bath without giving up floor. A fixed glass panel in place of a curtain keeps sightlines open, and a tiled hob or recessed ledge replaces bulky caddies. Compare options in our Bathroom Layouts Guide.
A2 — ▭ WALK-IN ALONG THE LENGTH
Trade the bath for an open shower
In long, narrow rooms, running a screenless or single-panel shower down the far wall lets the floor read as one surface. A linear drain and continuous tile make the room feel wider. See Walk-In Showers for the detail.
A3 — ◜ SHOWER IN THE CORNER
Tuck the wet zone away from the door
Where a window or door breaks up the walls, a compact corner shower frees a clear run for the vanity and toilet. It is often the simplest answer for Art Deco flats. Our Bathroom Design service tests each option before work starts.
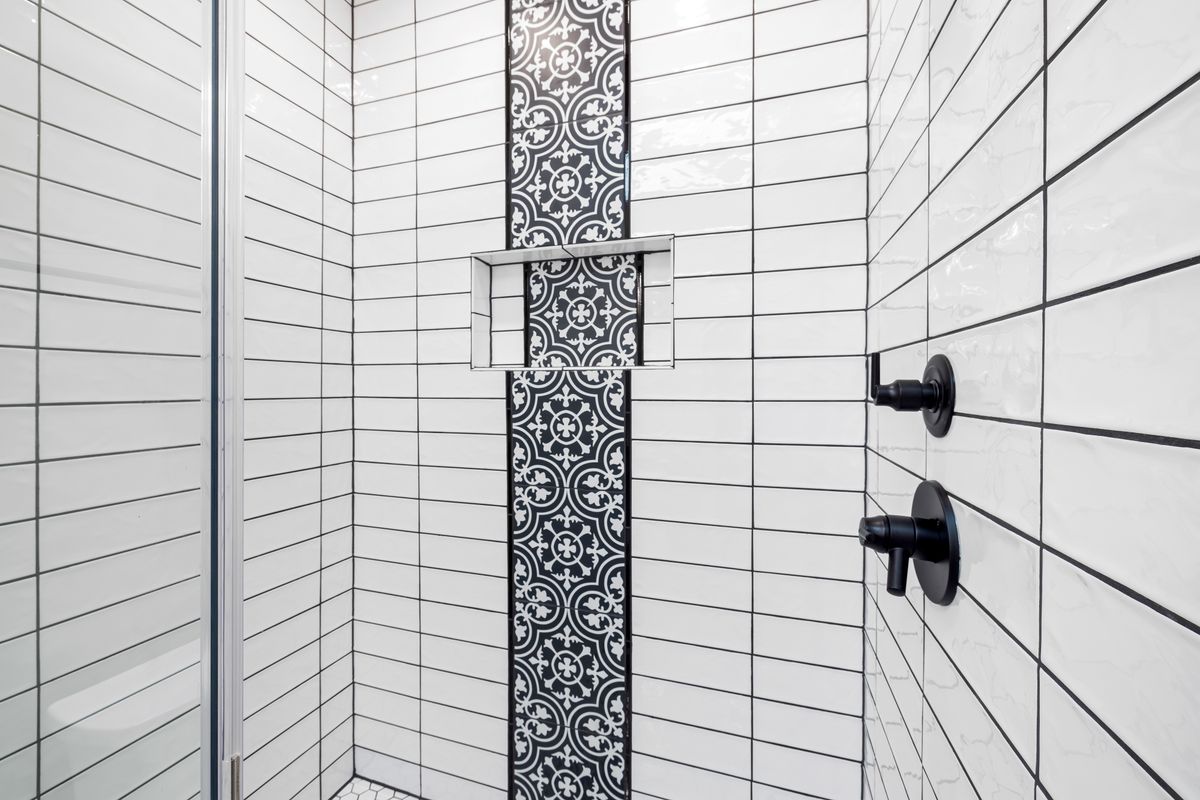
Detail — a recessed niche set into the shower wall
SHEET B — SECTION
Space found inside the wall
When the floor can’t grow, the walls have to work harder. These details are general guidance — what suits your room depends on its framing, plumbing and building type.
Wall-hung fixtures
A floating vanity and in-wall cistern show more floor, which makes a room read larger and easier to clean. See Vanity Installation.
Niches instead of shelves
A recessed niche holds bottles without projecting into a narrow shower. It must be planned with the waterproofing, not cut in later.
Light-reflecting tiles
Pale, gloss or larger-format tiles bounce light and reduce grout lines. Carrying one tile from floor to ceiling blurs the room’s edges. More in Bathroom Tiling.
SHEET C — SEQUENCE
How a small bathroom comes together
01 — Look at the room. We review the existing layout, access, plumbing positions and the building type, including any apartment or strata considerations you raise.
02 — Resolve the plan. Layout options are compared on paper: where the shower goes, whether the bath stays, how the door swings.
03 — Choose materials. Tiles, vanity, tapware and screen are selected to suit the scale of the room and your budget.
04 — Build in layers. Strip-out, rough-in, waterproofing, tiling, then fit-off of fixtures — each stage finished before the next covers it.
05 — Final walk-through. We check the finished room with you. For stage-by-stage planning, read Bathroom Renovation Timelines.
NOTES ON THE DRAWING
Small bathroom questions
Should I remove the bath to gain space?
It depends on how the home is used. If nobody bathes, a walk-in shower usually opens the room up. If a bath matters for children or resale in your street, a shower over bath keeps it.
Can plumbing be moved in an apartment?
Sometimes. Floor construction, waste positions and owners corporation rules all affect what is possible, so it is assessed room by room before a layout is committed.
Do dark tiles work in a small bathroom?
They can, especially on one feature wall or the floor, if the room has good light. Paler walls generally keep a compact room feeling open.
Is a small bathroom different from an ensuite?
Often they overlap in size, but ensuites add bedroom concerns like ventilation and privacy. See Ensuite Renovations for those rooms.
RELATED SHEETS
Have a tight room to plan?
Tell us about your bathroom in St Kilda or a nearby suburb. Photos of each wall and the doorway help us understand the layout. Questions first? Contact us.