Home / Bathroom Guides / Waterproofing Guide
GUIDE — SECTION THROUGH A WET AREA
Bathroom Waterproofing Guide
Tiles and grout look waterproof, but they aren’t. Water gets through grout lines and hairline cracks all the time. What keeps it out of the floor, the wall frame and the flat below is a membrane you never see once the room is finished. This guide covers what that membrane is, where it goes, the order of layers around it and the signs that it has stopped working.
IN THIS GUIDE
SHEET A — WHAT IT IS
A continuous skin under the finish
Waterproofing is a membrane. It’s usually a liquid coating brushed or rolled on in coats, though sheet systems exist too. It sits over the floor and wall surfaces and stretches a little as the building moves. Its job is to catch any water that gets past the tiles and send it to the waste.
A membrane only works if it’s unbroken. Most leaks don’t start in the middle of a wall. They start where two surfaces meet: floor to wall, around the waste, at tap penetrations, at the shower hob or at the door. That’s why the detail work matters more than the brand in the bucket. In Australia, wet-area waterproofing follows the relevant national standard. It’s specialist work and needs doing before tiling starts, not fixing afterwards.
Our Bathroom Waterproofing St Kilda page explains how this fits into a full renovation.
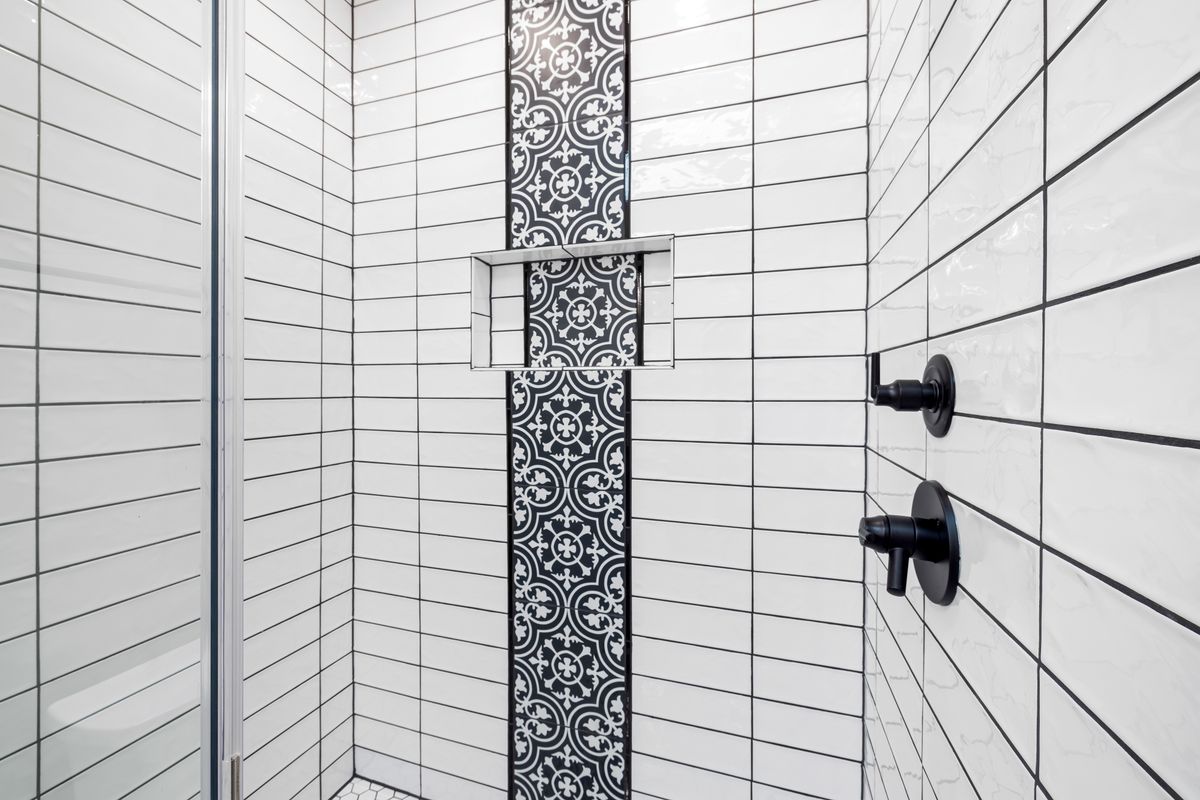
Reference: niches, tap penetrations and corners are where the membrane needs the most care
SHEET B — WHERE IT GOES
Wetter zones get more membrane
A bathroom isn’t treated as one even surface. The shower is the wettest area, so its floor and walls get the most coverage. The rest of the floor, the wall junctions and the doorway come next.
— Shower floor and walls, including niches and hobs
— Floor-to-wall junctions around the room
— Around floor wastes and pipe penetrations
— Behind baths and around the bath edge
— The doorway, so water can’t track out
Open walk-in showers without a hob rely heavily on correct floor falls and a well-detailed membrane.
SHEET C — THE LAYER ORDER
From the slab out to the grout line
Exact systems vary, but the general sequence behind a tiled shower reads like this, starting at the structure.
01
Substrate and falls
A sound, clean base, with the floor shaped so water runs to the waste rather than pooling.
02
Primer and junctions
Primer helps the membrane bond. Bond breakers or reinforcing go into corners and joints so movement doesn’t tear the coating.
03
Membrane
Applied in coats to the manufacturer’s instructions, sealed around the waste and penetrations, then left to cure before anything covers it.
04
Tile, grout, sealant
Adhesive and tiles go on top. Flexible sealant goes at changes of plane, not rigid grout. See Bathroom Tiling.
SHEET D — SIGNS OF FAILURE
What a failed membrane looks like
Inside the bathroom
Grout that stays dark long after a shower, tiles that sound hollow or come loose, cracked or crumbling grout at the base of the walls, and mould that returns soon after cleaning.
Beyond the bathroom
Swollen or flaking skirting boards, bubbling paint on the other side of the shower wall, damp carpet or timber at the doorway, a musty smell, or a stain on the ceiling below. In apartment buildings, that last one often turns up in a neighbour’s flat first.
Can regrouting fix it?
Fresh grout and sealant can tidy the surface. If the membrane underneath has failed, though, water keeps getting through. The lasting fix usually means lifting tiles and redoing the waterproofing. Our Leaking Shower Repairs St Kilda page explains how we find the cause first.
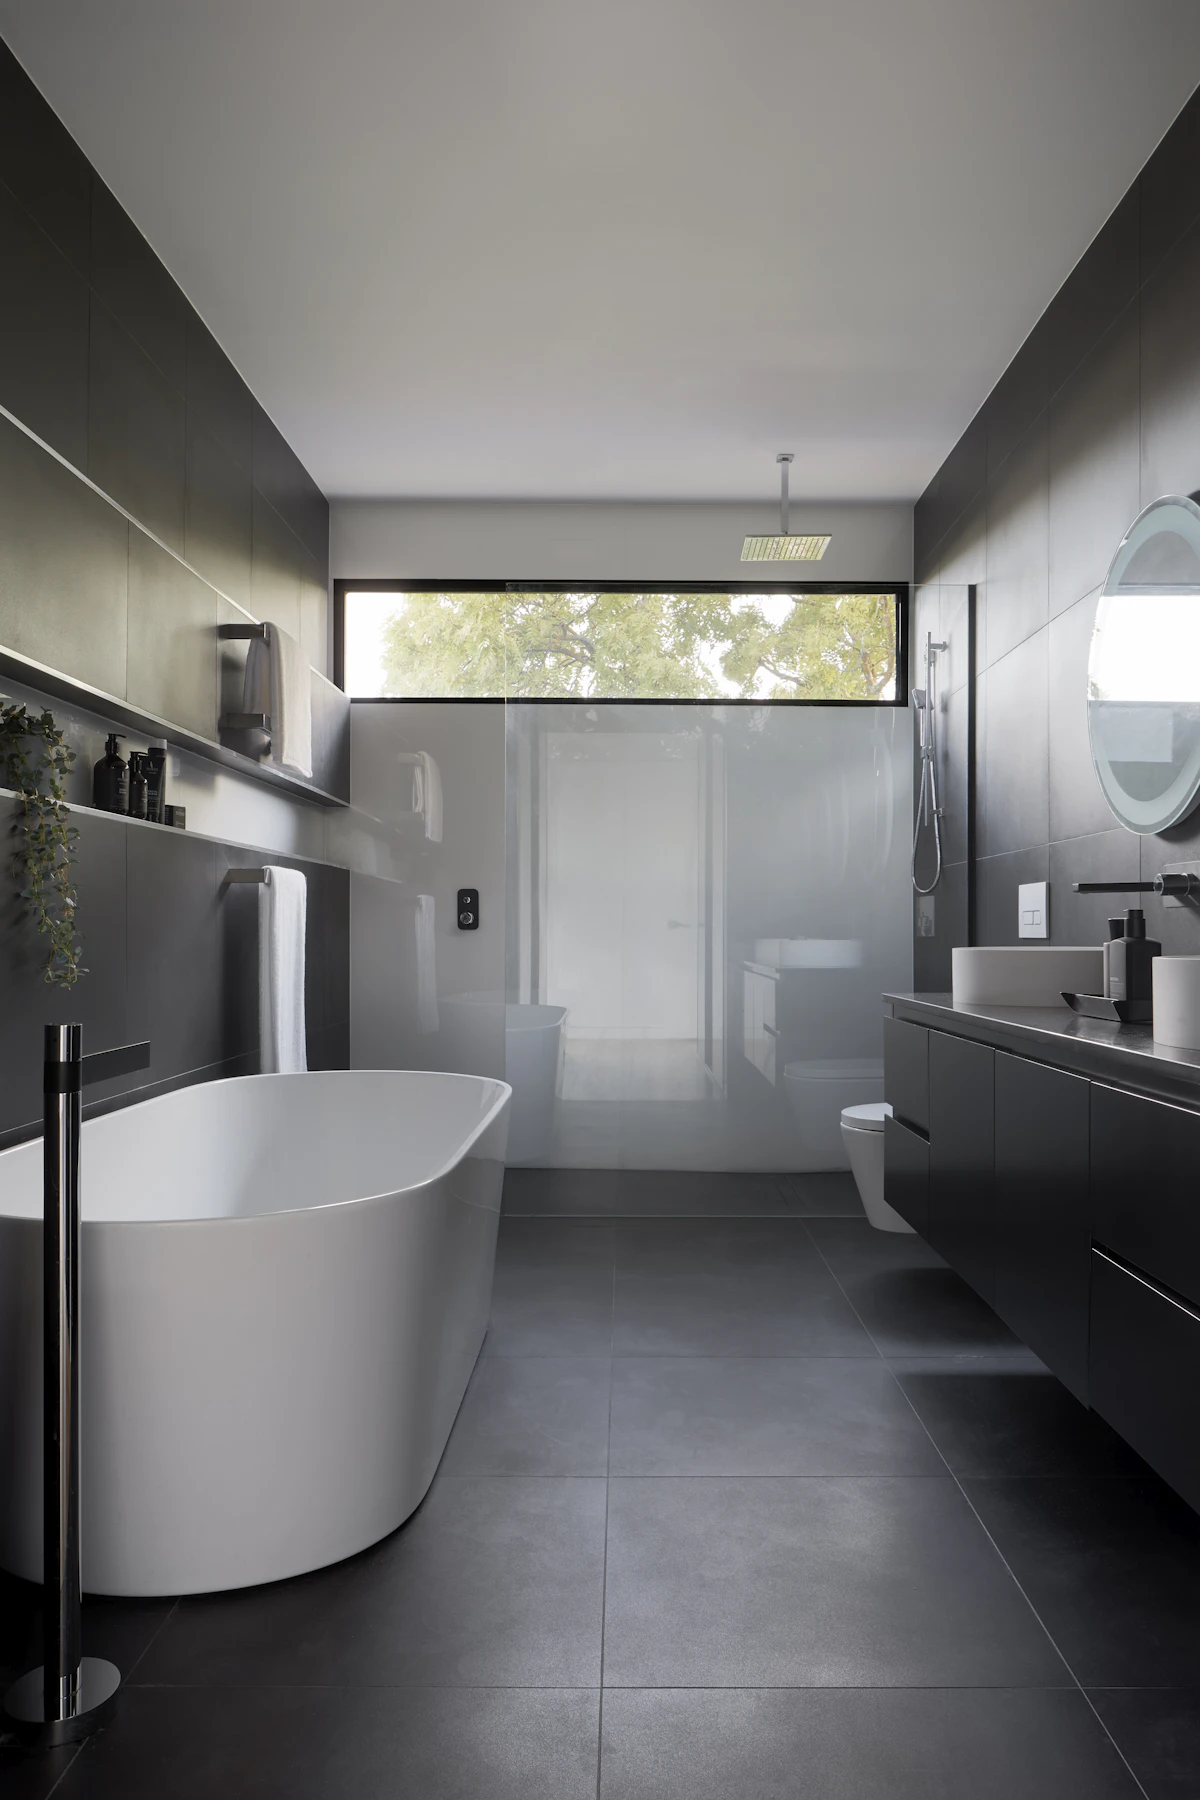
Reference: tiled walls and floor around an open shower. A sound finish can hide a failed layer.
RELATED SHEETS
Keep reading before you plan
07 · Bathroom Waterproofing St Kilda
12 · Leaking Shower Repairs St Kilda
Seeing any of the signs above? Request a free quote or get in touch.